Raised decking is a great addition to any outdoor living space. It not only provides a functional area for entertaining, relaxing, and enjoying the outdoors but also adds aesthetic appeal to your backyard. Building raised decking may seem like a daunting task but with the right tools and a little bit of know-how, it can be a fun and rewarding project.
In this article, we’ll provide a step by step guide on how to build raised decking. We’ll cover everything you need to know to create a beautiful, sturdy and safe outdoor space.
Whether you’re a seasoned DIY enthusiast or a beginner, this guide will provide you with the essential information you need to create a beautiful and functional raised deck that you can enjoy for years to come. So, let’s get started!
Hire Us: Top Rated Deck Builder in Wilmington NC
5 Steps To Build Raised Deck
To build raised decking, there are several important steps to follow:
1) Planning and Design
When planning and designing a deck, several important steps should be taken into consideration. These include:
- Measuring and marking the area: Before beginning any deck project, it’s important to measure the area where the deck will be built and mark it out. This will help to ensure that the deck is built to the correct size and in the correct location.
- Choosing the decking material: There are many different decking materials available, each with its unique features and benefits. Some popular options include wood, composite, PVC, and aluminum. It’s important to choose a material that suits your style, budget, and maintenance preferences.
- Choosing the size and shape of the deck: The size and shape of the deck will depend on the intended use of the space, the available area, and personal preferences. Consider factors such as the number of people who will be using the deck, the type of furniture that will be placed on it, and any potential future additions or changes.
- Deciding on the deck height: The height of the deck will depend on the slope of the land and the desired access points. It’s important to consider safety and accessibility when deciding on the deck height.
- Obtaining necessary permits and approvals: Depending on where you live and the size of the deck, you may need to obtain permits and approvals from your local building department or homeowner’s association. It’s important to check with these authorities before beginning any construction to ensure that you comply with all relevant regulations and requirements.
2) Building the Foundation
Once the design and planning stages are complete, it’s time to begin building the foundation.
- Preparing the ground: Before building the deck, it’s important to prepare the ground. This involves removing any vegetation, rocks, or debris and leveling the area where the deck will be built.
- Installing footings: Footings are an essential component of any raised decking project as they provide stability and support. The type of footing used will depend on the size and shape of the deck, the type of soil it is being built on, and local codes or regulations.
- Installing post supports: Post supports provide additional stability and security to your deck. They should be installed into the footings and adjusted to ensure that they are level and secure.
- Attaching beams and joists: Once the post supports are in place, beams and joists can be attached. These provide additional support for the deck boards and help ensure that it is structurally sound.
3) Building the Decking
1) Choosing the decking pattern
When choosing a decking pattern, you will want to consider the size and shape of your deck, as well as your style preferences. Some common decking patterns include traditional horizontal or diagonal planking, herringbone chevron, or basket weave. You may also want to consider using different colored boards or creating a picture frame border
2) Laying the decking
Once you’ve chosen a pattern, start laying the boards. Begin at one end of the deck and work your way to the other, staggering the joints for added strength. If you’re using a picture frame border, install this first before installing the field boards.
3) Cutting and fitting the decking
You will likely need to make some cuts to the decking boards to fit them around corners or other obstacles. Use a circular saw or jigsaw to make the necessary cuts, and be sure to wear eye and ear protection. When fitting the boards, make sure they are securely in place and flush with the rest of the decking.
4) Attaching the decking
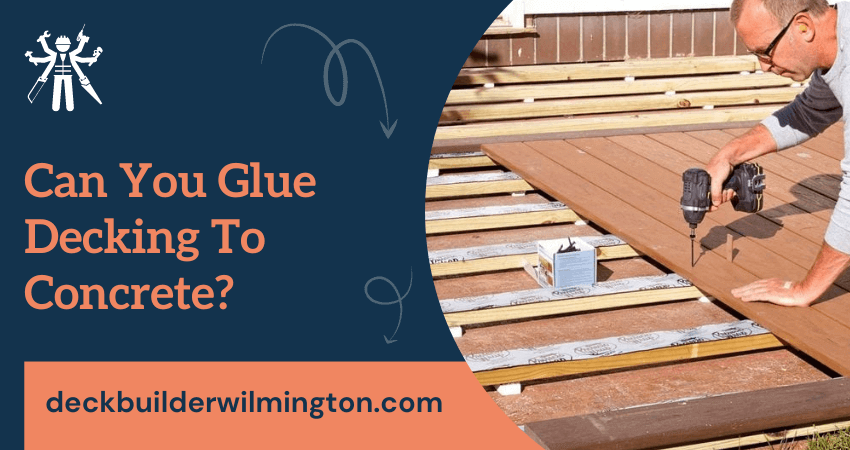
Secure the decking boards to the frame with deck screws, using two screws per joist. Make sure the screws are flush with the surface of the decking and avoid over-tightening, which can cause the boards to warp. You may also want to use hidden fasteners, which can give your deck a cleaner, more polished look.
4) Installing Railings and Stairs
After the decking is secure, you can now install the railings and stairs. For best results, measure twice before drilling any holes, and use a level to make sure everything is properly aligned.
- Installing the railing posts: Railing posts should be securely attached to the deck frame and spaced evenly along the perimeter of the deck. For added stability, you can use blocking between the posts for additional support.
- Attaching the railing: Attach the railing to each post using rail brackets or balusters, depending on your chosen style. Make sure all screws and fasteners are tight and flush with the railing, and double-check all connections for stability before moving on.
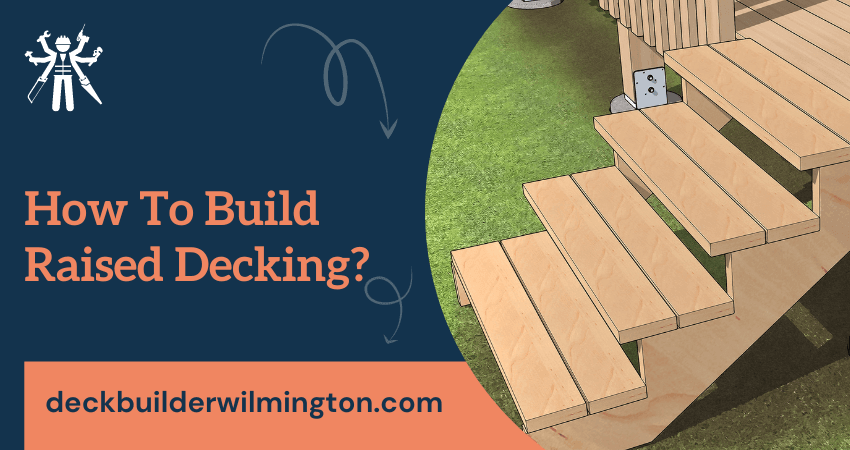
- Building the stairs: Once you’ve finished installing the decking and railing posts, it’s time to build and install the stairs. Measure from the deck frame to the ground at multiple points to determine how high each step should be then cut the stringers to length. Secure the stringers in place with galvanized spikes and attach the treads and risers. Finally, attach the handrails for safety.
5) Finishing Touches
Once the decking, railings and stairs are installed, it’s time to finish up.
- Applying a protective finish: To protect your deck from the elements and prolong its life, apply a protective finish such as an oil-based sealant or water repellent. Be sure to follow the manufacturer’s instructions when applying the finish.
- Adding decorative accents: After you’ve applied the protective coat, it’s time to add any decorative accents you may want. This could include outdoor furniture, potted plants, or hanging baskets. You can also add lighting fixtures to your deck for a soft glow in the evenings.
- Adding seating and planters: Adding planters or built-in seating can give your deck a more inviting feel. Planter boxes and benches can be easily built out of wood to match the rest of the deck.
- Maintenance and Care: To keep your deck looking its best, regular maintenance and cleaning are essential. Sweep the deck regularly to remove any dirt or debris that accumulates, and use a mild cleaner to remove any stubborn stains. Be sure to reseal your deck every few years to protect it from the elements and keep it looking new.
Now that you know how to build a deck, you can enjoy the great outdoors in style! With the right planning and some hard work, you can create a beautiful and functional outdoor space. Good luck with your project!
FAQs – Raised Decking Building
How high can a raised deck be?
The maximum height of a raised deck will depend on local building codes. Generally, if the deck is higher than 30 inches above the ground, you must obtain a permit and have it inspected by your local building authority. The inspection process helps ensure that the structure meets all necessary safety standards.
What are the benefits of building a raised deck?
Building a raised deck can be an excellent way to add value to your home and create more usable space. It also provides an elevated view of the surrounding area.
Here are some other benefits of building a raised deck:
- Increased space: Building a raised deck provides more space for entertaining, relaxing, or any other activity. You can create an area that is larger than your backyard, or use the space for an outdoor kitchen.
- Increased property value: Building a raised deck will add value to your home, making it more attractive to potential buyers in the future.
- Increased safety: Raised decks are built higher than ground level, making them less likely to be affected by flooding or other weather conditions. This ensures a safe and secure area for you and your family.
- Easier Maintenance: With a raised deck, you don’t have to worry about mowing under it or maintaining the ground beneath it. This can make upkeep less of a hassle.
What tools are needed for building a raised deck?
If you are planning to build a raised deck, there are several tools that you will need to complete the project. The most important tools for building a raised deck include:
Tape measure and framing square, circular saw, power drill, hammer and nail set, level, post-hole digger, shovel, wheelbarrow, and safety gear. Depending on the size and complexity of your project, you may need additional tools such as a router, miter saw reciprocating saw, pneumatic nailer or even a trailer.
How long does it take to build a raised deck?
The time it takes to build a raised deck will depend on several factors including the size of the deck, the type of materials used, and the complexity of the design. Generally speaking, it can take anywhere from two days to several weeks or even months to build a raised deck.
If you’re working with a professional contractor, they can provide you with a more accurate timeline. In addition, the complexity of your deck design will also have an impact on how long it takes to build.
Final Words
Building a raised decking can be a great way to enhance the look and functionality of your outdoor living space. To build a raised decking, it is important to plan and prepare the site, choose appropriate materials, and follow the necessary safety precautions.
With the right tools and techniques, you can construct durable and attractive raised decking that will provide a comfortable and enjoyable space for relaxing, entertaining, and outdoor activities. Remember to follow local building codes and regulations, and consider seeking professional help if you are unsure about any aspect of the construction process.


